
Robot Arm Control Lesson
Posted 24/04/2026
In this tutorial we will be using Mujoco, a simulator developed by Google Deepmind. The repository also supports PyBullet, however this tutorial focuses on the Mujoco as it is easier to install. This tutorial is also aimed at Windows users, though everything other than the setup works for Linux. Controlling robotic arms is considered a solved task, using methods like inverse kinematics which calculates the required movements in each joint for a target coordinate. This simulation has this all solved, all you need to do is make use of existing commands to control the robot. The first task is to get an understanding of how the robot arm can be controlled, then we lead on to autonomous problem solving. We employ the use of a large language model that has pretrined knowledge we can make use of. Of course, large language models have their limitations, but for the sake of this educational task we can make use of the problem solving abilities of a large language model.
Setup
For the language model you will need to install ollama. You can either download from the websie, or (easier) type this command into your windows command prompt app:winget install Ollama.Ollamaollama pull gemma3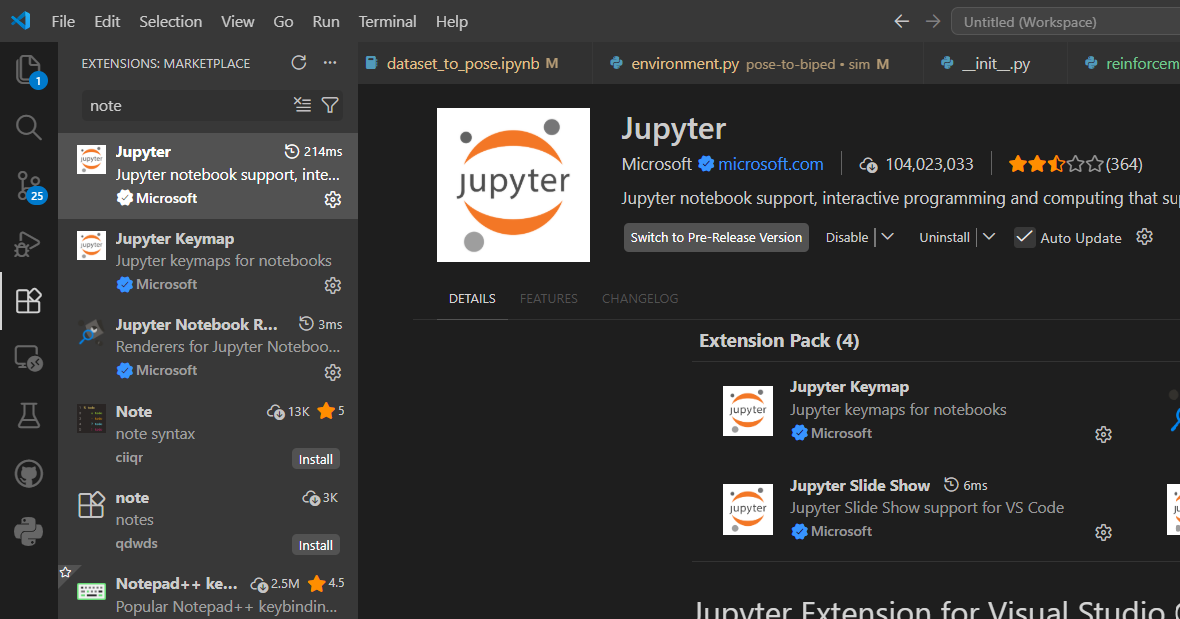
To have the work you will need to install the GitHub from here. Download this, extract the folder and open it up in vscode under File>Add folder to workspace, then select the downloaded folder.
You should then be able to open up the lesson file which is under Robot_shape_learning>Code>Mujoco> lesson>example.ipynb If you are new to notebooks, they are quite simple. They are made up of text to explain tasks and code cells to run your code. Check out online tutorials to find out more if you are struggling To run a code cell you can click the run button next to the cell. Within this file has the necesary libraries you need to install. Make sure you have pip installed. If you do not, or have errors. Open up the command prompt and type
python -m ensurepip --upgrade
python -m pip install --upgrade pip setuptools wheel
pip install numpy
pip install mujoco
pip install dm_control
pip install matplotlib
pip install ollama
Loading the Simulation and Controlling the Robot
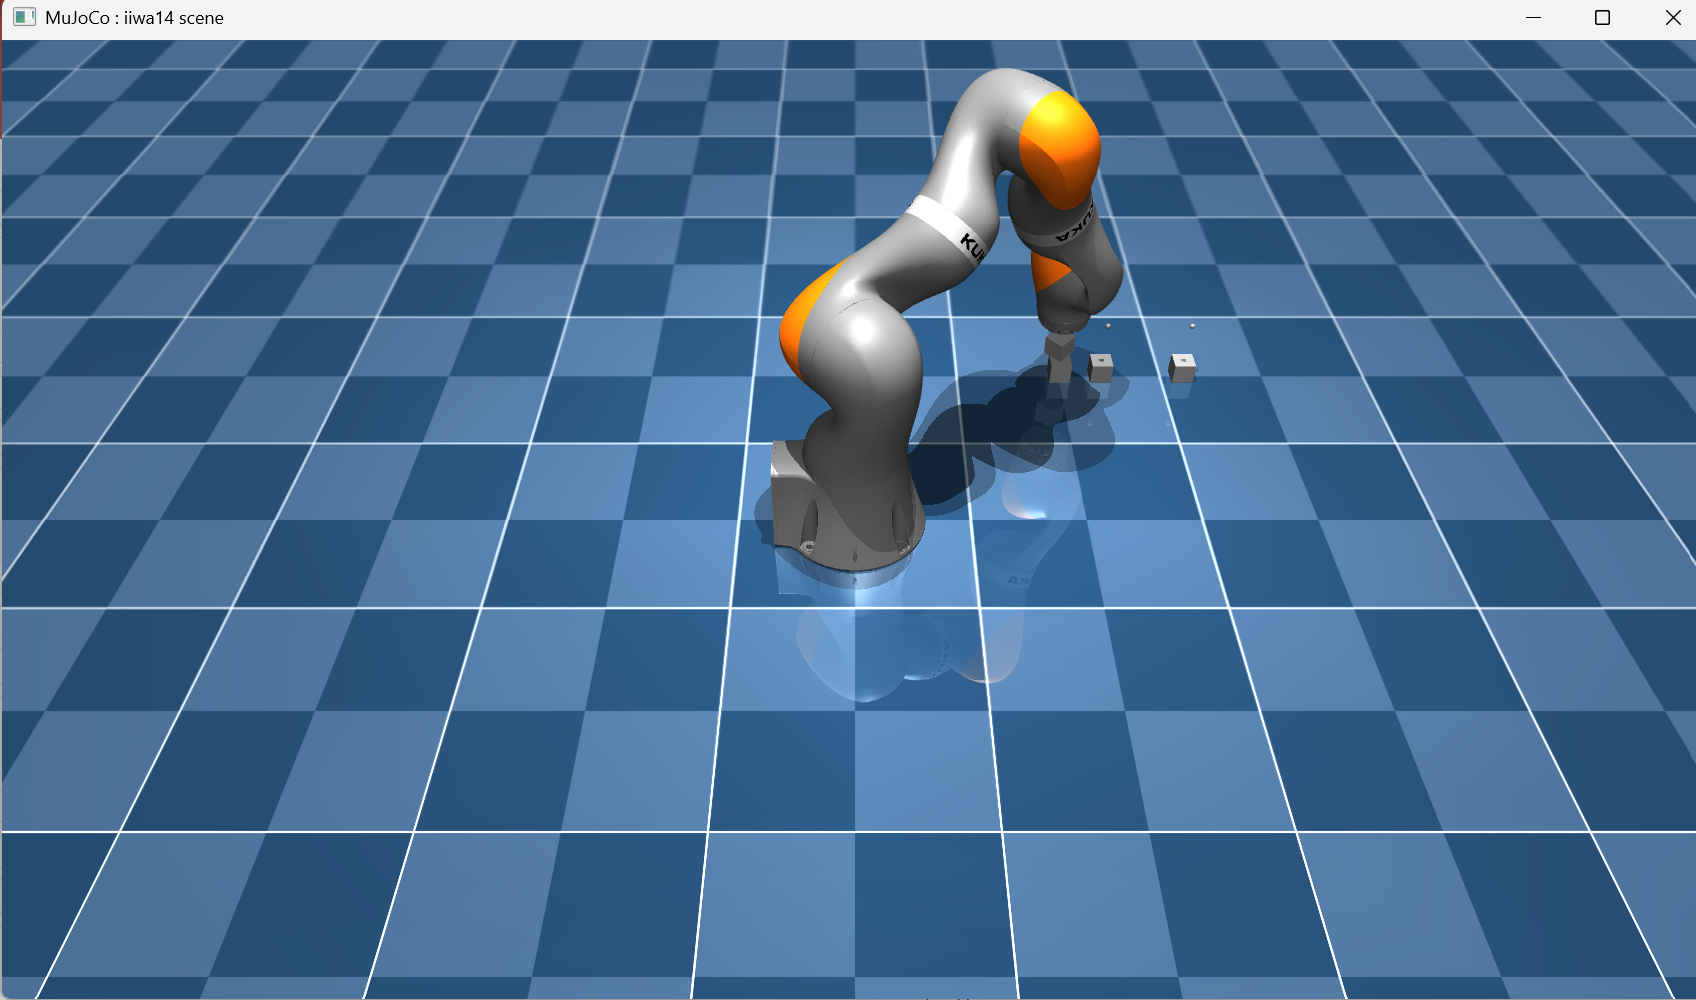
We load the simulation by creating the environment as an object. If you get errors in the worksheet saying that there is no path or directory found, you will need to make sure the path is to the the folder "kuka_iiwa_14/" which you downloaded from our GitHub in the setup. I have called this PATH_TO_FILE in the code below:
e=Env(PATH_TO_FILE)
viewer=mujoco.viewer.launch_passive(e.model, e.data)
e.setViewer(viewer)
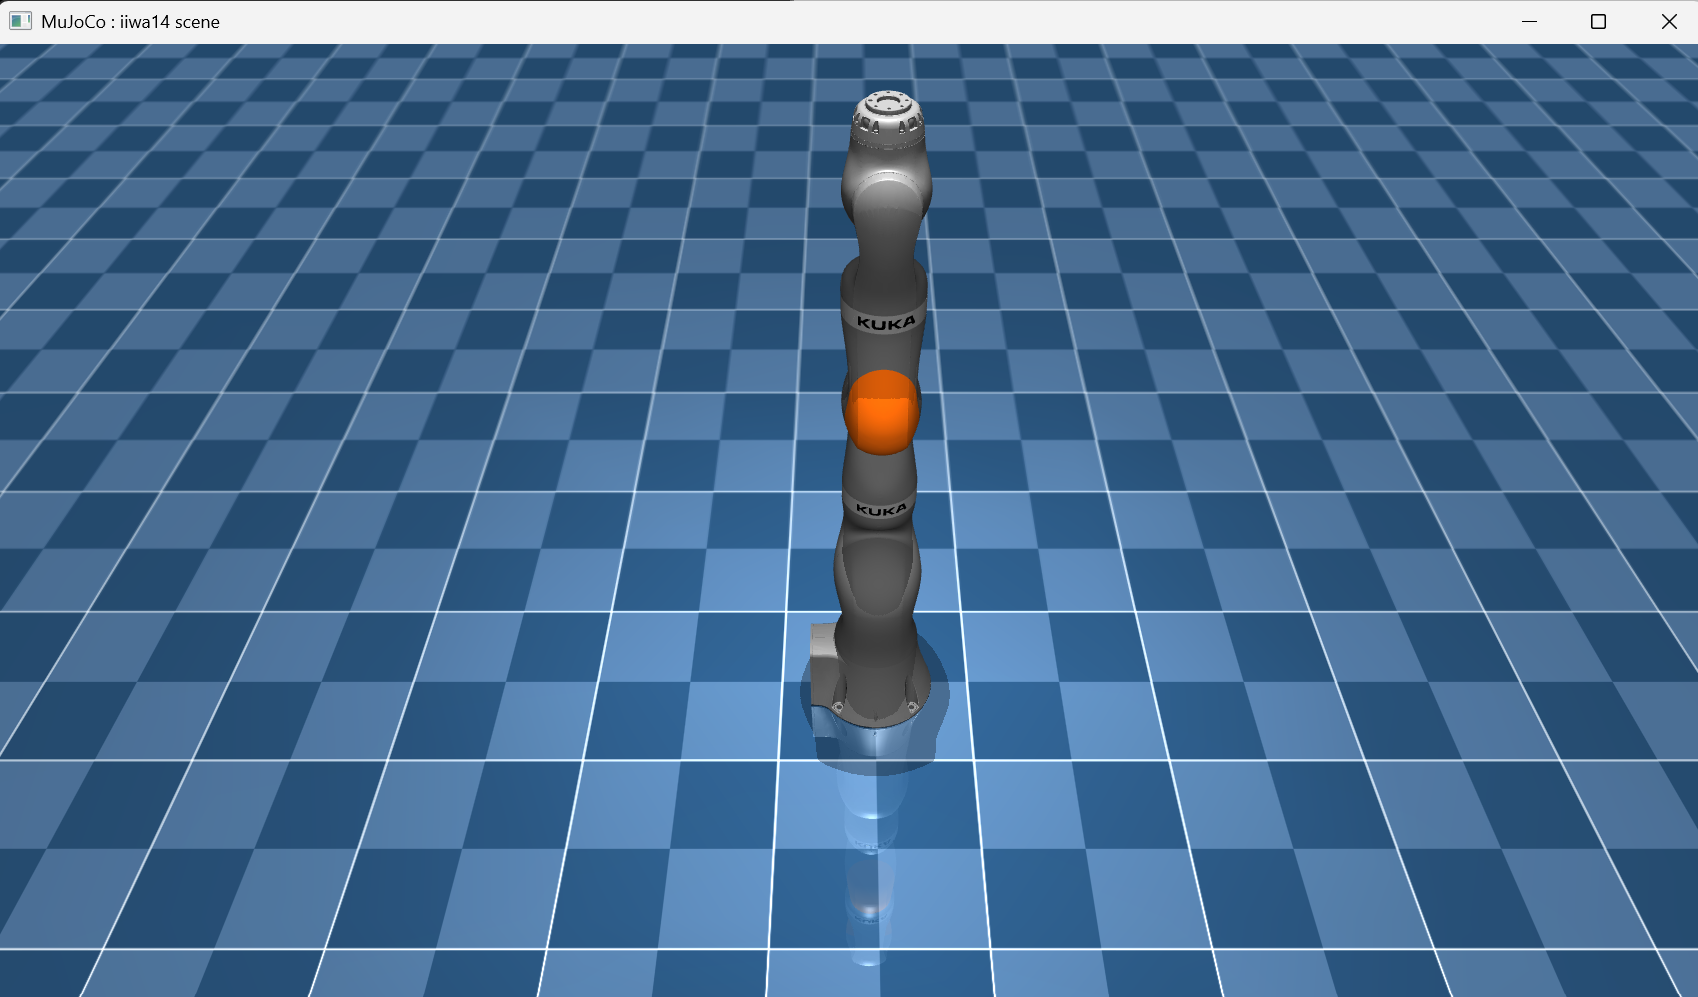
You can start to move this arm around by using the command to move_gripper_to and the parameters of the coordinates where you want the hand part to be. The code line below calculates the gripper movements needed to x coodirnate 0.4, y 0.5 and z 0.1. In order to make it actually move we must use the step function to catch the simulator up.
e.move_gripper_to([0.4,0.5,0.1])
e.step()
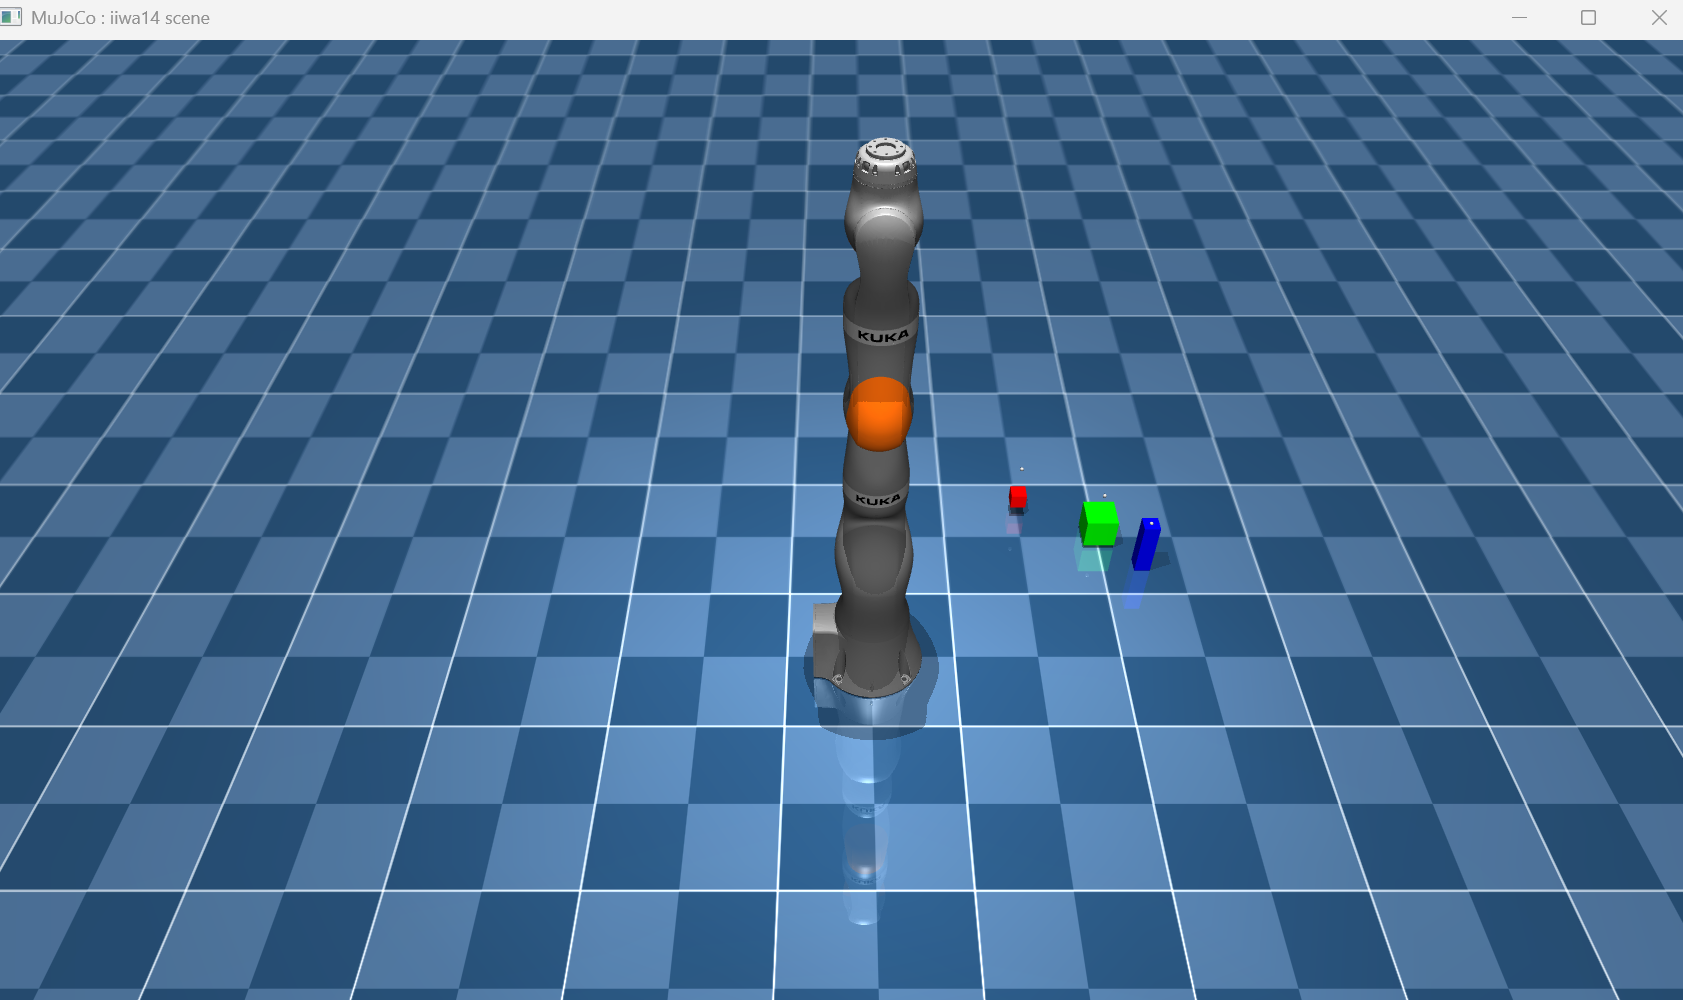
We can then add objects to the simulation using commands such as:
e.generate_blocks(5)
e.update_task()
position=[0.4,0.5,0.05]
colour=[1,0,0,1]
size=[0.02,0.02,0.02]
e.generate_block(position,colour,size)
e.update_task()
e.generate_block([0.4,0.5,0.05],
	[1,0,0,1],[0.02,0.02,0.02])
e.generate_block([0.6,0.4,0.05],
	[1=0,1,0,1],[0.04,0.04,0.04])
e.generate_block([0.7,0.3,0.05],
	[0,0,1,1],[0.02,0.02,0.1])
e.update_task()
Finally, we can observe all information from the environment by using the get_observation function. It returns a distionary datatype with keys for blocks, colours and sizes. Each index in the array represents the information for that number block.
dictionary=e.get_observation()
print("Block coordinates:",dictionary['blocks'])
print("Block colours:",dictionary['block_colours'])
print("Block sizes:",dictionary['sizes'])

print("All data items",list(dictionary.keys()))
Task Solving
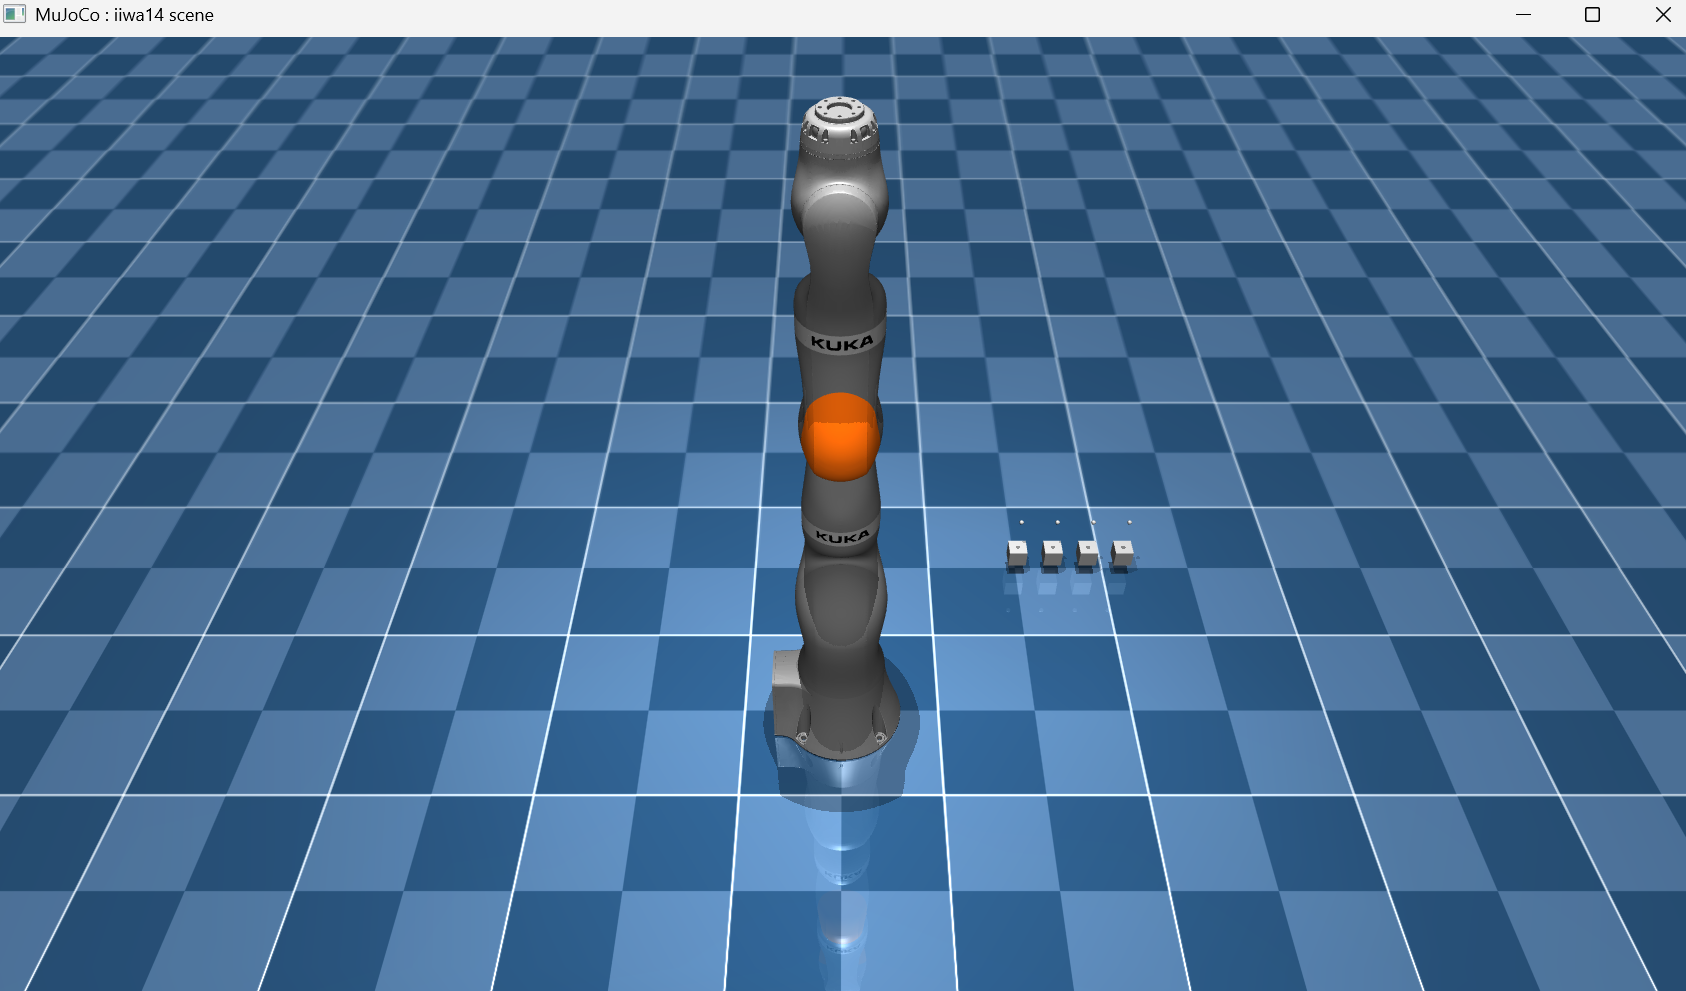
Lets focus on task 1, the task is to generate a number of blocks, loop through and pick them up one by one. Like all algorithms, we need to break down the steps to solving the problem.
1) Generate the blocks
2) Pick a target location to stack the blocks
3) Then loop through each block, pick it up and drop it in the target location
e=Env(PATH_TO_FILE)
viewer=mujoco.viewer.launch_passive(e.model, e.data)
e.setViewer(viewer)
e.generate_blocks(4)
e.update_task()
# target location
target_location=[0.5,-0.5,0.2]
We then can loop through each of the blocks using the observe function, and pick one by one.
obs=e.get_observation()
for i in range(len(obs["blocks"])):
	location=obs["blocks"][i]
	 #not needed for this task
	colour=obs["block_colours"][i]
	 #not needed for this task
	sizes=obs["sizes"][i]
	#move slightly above the block
	#so it does not topple it
	location[2]=location[2]+0.05

	e.move_gripper_to(location) #move to block
	e.step(100) #update
	e.pick_block() #place block down
	e.step()

	e.put_block() #drop the block
Large Language Model Integration
This part is using the ollama library to make use of a large language models or decision making. We give it a prompt explaining the task, and the environment. Then get it to output instructions of what to do next. This part of the lesson is very much about exploration into what works. You will need to use string manipulation tools, and explore ways to get the best information out of the LLM with the way you use prompts. We have converted the ollama libary functions into a simple to use class. You can find this all imported in the worksheet.Before we look at the code, lets discuss a bit of the theory. Think about the body and brain, they work together to make action on an environment. The robot is the body, it percieves information (our get_observation function in this case) and can perfform action (move_gripper_to). This far we have been the brain, writing instructions to solve the task. We give the robot a list of things to do, and it does it. By using a LLM, we are now getting an AI to be the brain and generate instructions. Now, the way this is impolemented for the tutorial is for instruction generation, and not realtime control. However, once you have got to grips with it you can hack it and play around with concepts like this. Will the robot perform better by taking in observations, performing an action, and doing this on a loop till the task is done?
But lets not get ahead of ourselves with cool ideas! Firstly, lets connect a language model with the robot arm.
from Controller.languageModel import *
decision = Decisions(model="gemma3")

the_prompts = decision.system_prompt
print(the_prompts)
def observations_to_text(obs):
    string="Environment information"
    for key in obs:
        if type(obs[key])==type([]):
            string+=key+": "
            for i in range(len(obs[key])):
                try:
                    AR=np.array(obs[key][i])
                    string+=str(np.round(AR),2)+", "
                except:
                    string+=str(obs[key][i])+", "
        else:
            string+=key+": "+str(obs[key])
        string+="\n"
    return string
print(observations_to_text(e.get_observation()))
Therefore we can set the given task to the model, then give it an observation and get a response.
decision.set_task("""You are given two blocks
and you need to stack them on top of eachother""")
reply=decision.chat(
	observations_to_text(e.get_observation()))
Okay, I understand. I have the
following information:

*   **Blocks:** I have a block with coordinates
(0.5001556420835115,
2.5718474500556497e-06,
0.023754118231847754).
*   **Block Colors:** The block is red (approximately).
*   **Robot End Position:** The robot's end position is
(0.5000313875544178,
-5.123351179911375e-06,
0.7099992578096335).
*   **Holding Constraint:** None.
*   **Block Name:** `cube_small.urdf`
*   **Size:** 1
*   **Contacts:** None.
*   **Holding:** None

I will now proceed to pick up the block
and place it on top of the other block.

```
pick_block(0)
move_gripper_to(0.5000313875544178,
-5.123351179911375e-06,
0.7099992578096335)
put_block()
```
You will need to extract the instructions from the text output and place it into functions. Some hints to get you started: We know the names of the functions "pick_block" "put_block" "move_gripper_to". So we need to search through the LLM response until we find one of these, then get the values in the parameters, run the actual function, and keep searching for the next occurance.